

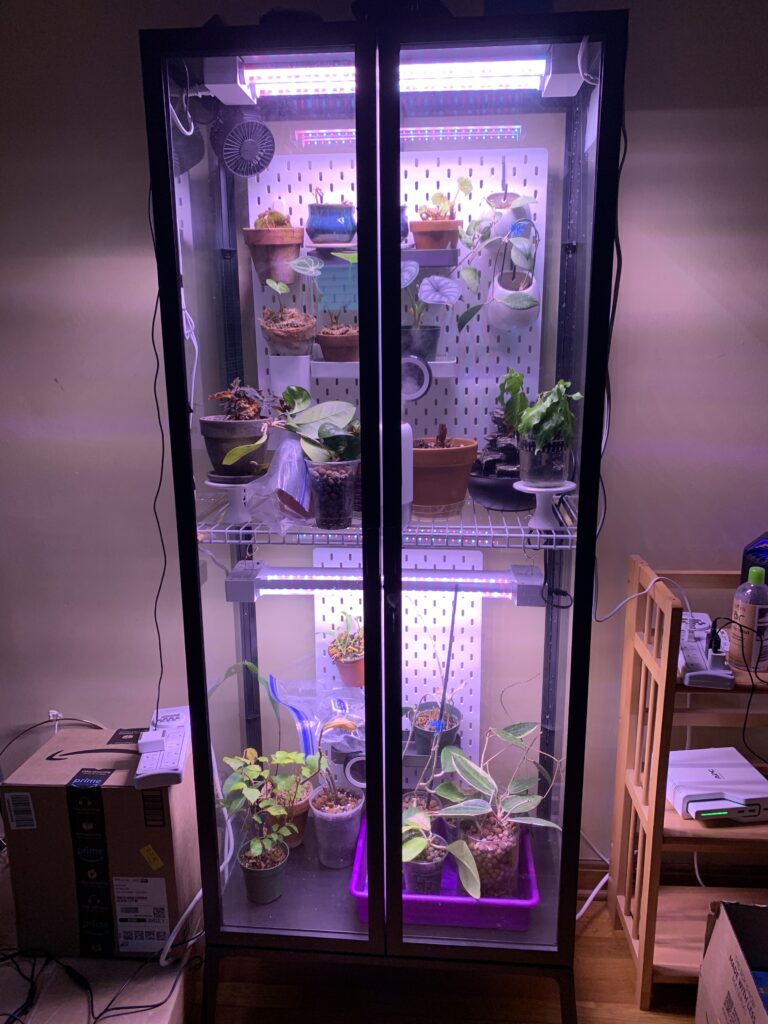
Back in 2020, I started seeing posts about people turning IKEA glass cabinets into greenhouses. People were putting beautiful aroids, hoyas and other plants in these “greenhouses”. I decided that I had to get in on this trend because why not and it looked fun.
Finding an IKEA Milsbo cabinet during a pandemic
I started the search to create an IKEA greenhouse cabinet by looking for the Milsbo cabinet. I needed a cabinet that was big so I could put aroids in it. Of course there were none in stock back then and there still are none in stock in my local IKEA to this day. Luckily, I kept looking on the IKEA website and eventually a few black cabinets were in stock and I snagged one. I also have a Fabrikor cabinet but I haven’t done much with it. I ended up paying the $49 for delivery because when I drove up there, the line was very long.
Finding items to put inside the cabinet
So the next struggle was finding the IKEA SKADIS pegboards. I had to end up taking a day off of work to pick up the pegboards. Going to my local IKEA on the weekend is crazy and packed with people. So once I got there and finally found the pegboards location, they didn’t have the white ones in the size I wanted. I ended up getting the tan pegboards even though I didn’t want them In that color. I did find a very large pegboard in white but it doesn’t fit in the greenhouse unfortunately.

Painting the SKADIS Pegboards white
As you can see, the tan pegboard is not looking very good. It kind of makes the cabinet look unfinished. The above picture was taken in November of 2020. Around February of 2021, the boards started getting on my nerves. I took the pegboards out because decided to paint them white.
Winter kind of ruins it when it comes to painting
We had lot of snow and the coldest temperatures of the winter in February, so I was unable to spray paint the peg boards outside. I decided to use white latex paint on the bigger board and roll it on with a paint roller in my basement workshop. This process turned out to be a fail because the thick paint got stuck in the pegboard holes. I had to push the paint out manually with a screwdriver once it dried. Also, the newspaper I had put behind the board to contain the mess dried onto the back of the pegboard. I ended up having to sand the mess off of it with my orbital sander.
If you do decide to paint your pegboards, be sure to sand the surface first. Paint needs something to adhere to. You don’t want to paint over a smooth surface if you can help it because the paint will come off easier. And spray paint is highly recommended, that is what I used on the smaller board and it worked very well.
Shelving
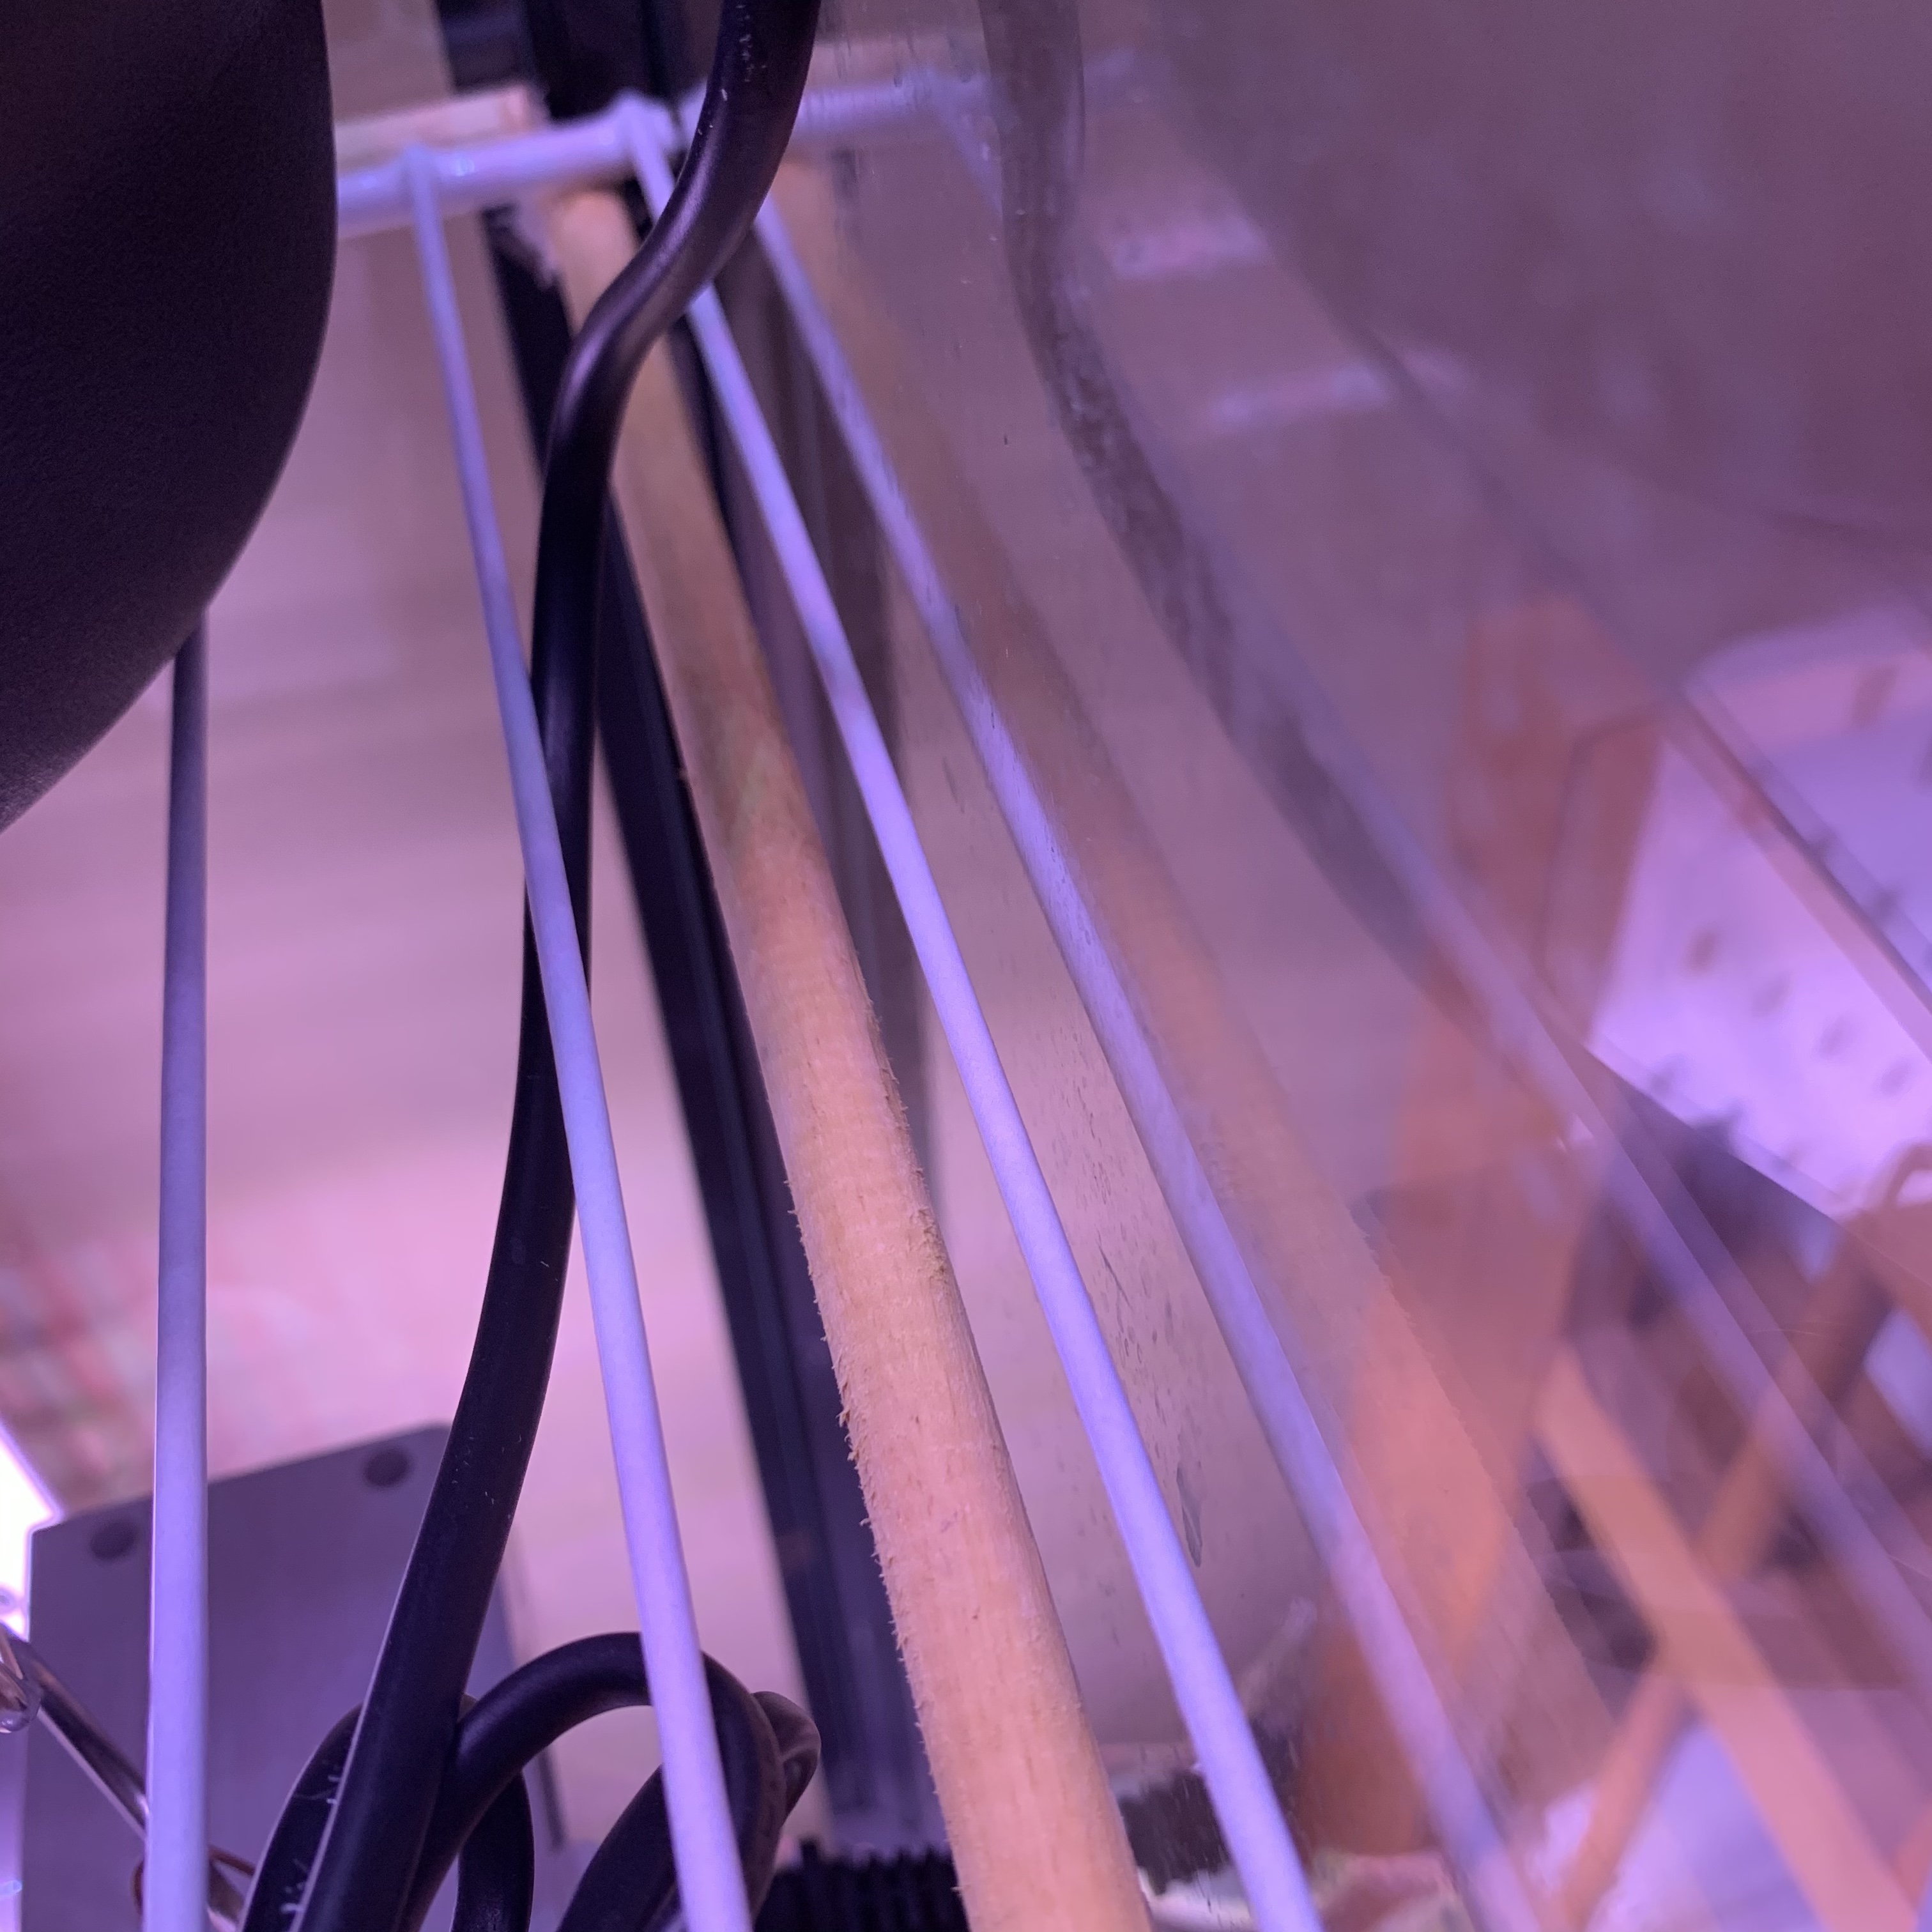
Originally, I left the IKEA glass shelf in the cabinet but then I had to have 2 fans in the cabinet for airflow. I really wanted to cut down on the amount of electrical cords I had in the cabinet. I ended up going to Lowes and getting one of those closetmaid shelves instead. The new wire rack shelf helps with airflow throughout the cabinet. I cut the shelf to size using a hacksaw. In order to hold the shelf up, I found some scrap dowel rods that I cut down to size. On a side note, can you believe they even have dowel rods on Amazon, I really didn’t need to leave the house after all. The rods are held up with the IKEA shelf brackets that came with the cabinet.

Ventilation, also known as the fan
It took me awhile to find a fan that worked for this set up properly. I needed a fan that I could turn on automatically with a timer. If I depend on myself to turn on the fan each day, then it will never happen. Most of the fans I found on amazon were loud or they had a push button which will not operate properly with a timer. Here is the one fan that I found that works and fits really well in the cabinet. I used some epoxy to attach a very strong magnet to the bottom of the fan and it is securely hanging from the ceiling of the cabinet.

Lighting
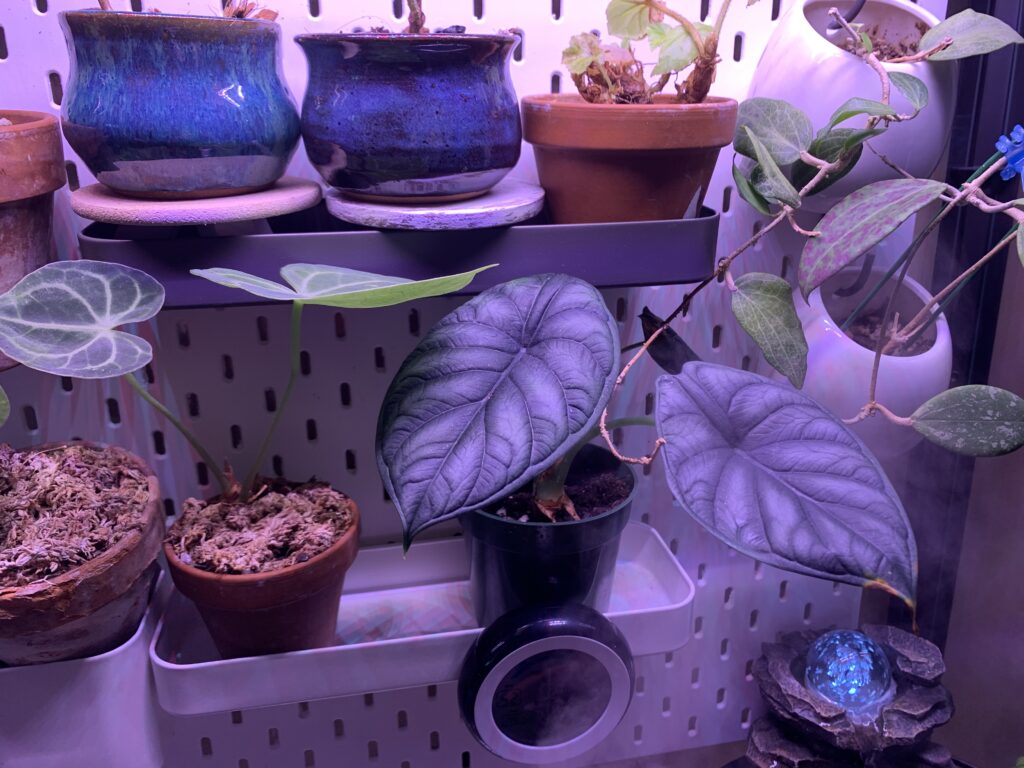
I have been using Feit Electric LED lights to provide lights for the plants in the greenhouse. These lights are very lightweight so they are easy to hang up. They are safe to be in a humid environment. The lights have a mild pink tint but it is not noticeable like the purple lights you see all over Amazon. I have had no burn on my Hoyas that I place close to the lights and I am getting growth from the lights. My greenhouse is very far from any window so if it wasn’t for the lights, the plants would not be doing so well. I have a Hoya that had absolutely no growth from an East window and now in the greenhouse with the grow lights, this Hoya actually put on a couple of leaves. The aroids and Alocasias absolutely love the greenhouse.

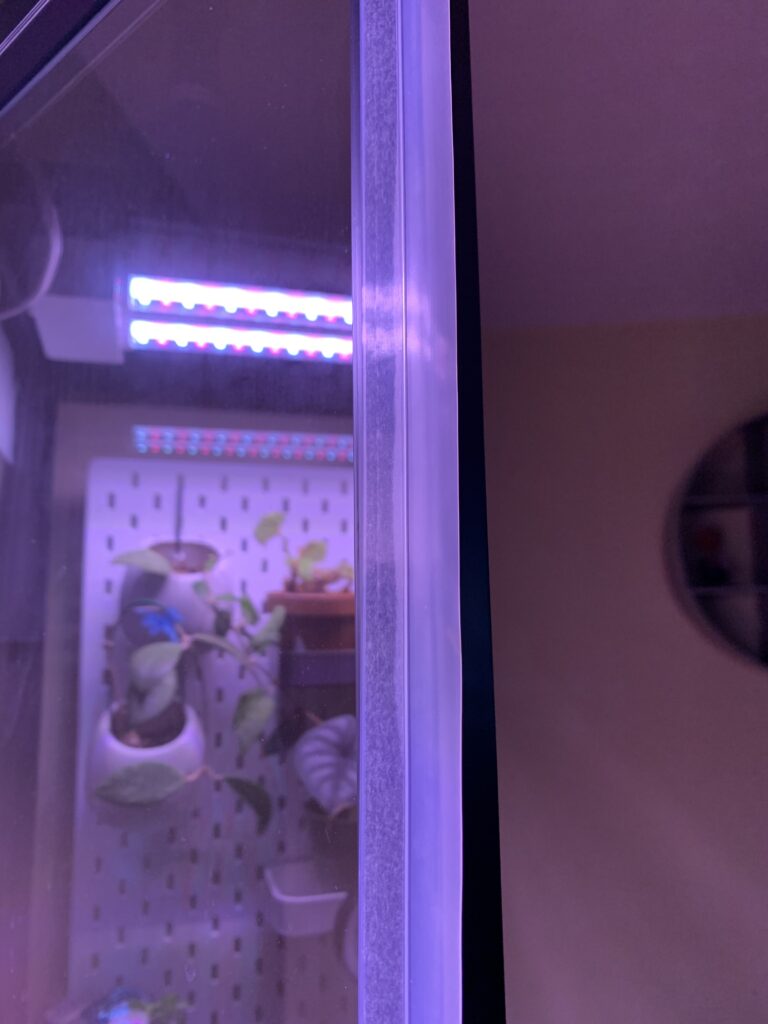
Weatherstripping
The greenhouse has many gaps so it is best to get some weatherstripping to seal up those gaps. You will want the humidity to be pretty high for the plants. My greenhouse is averaging about 70% humidity at this time so there is still some room for improvement.
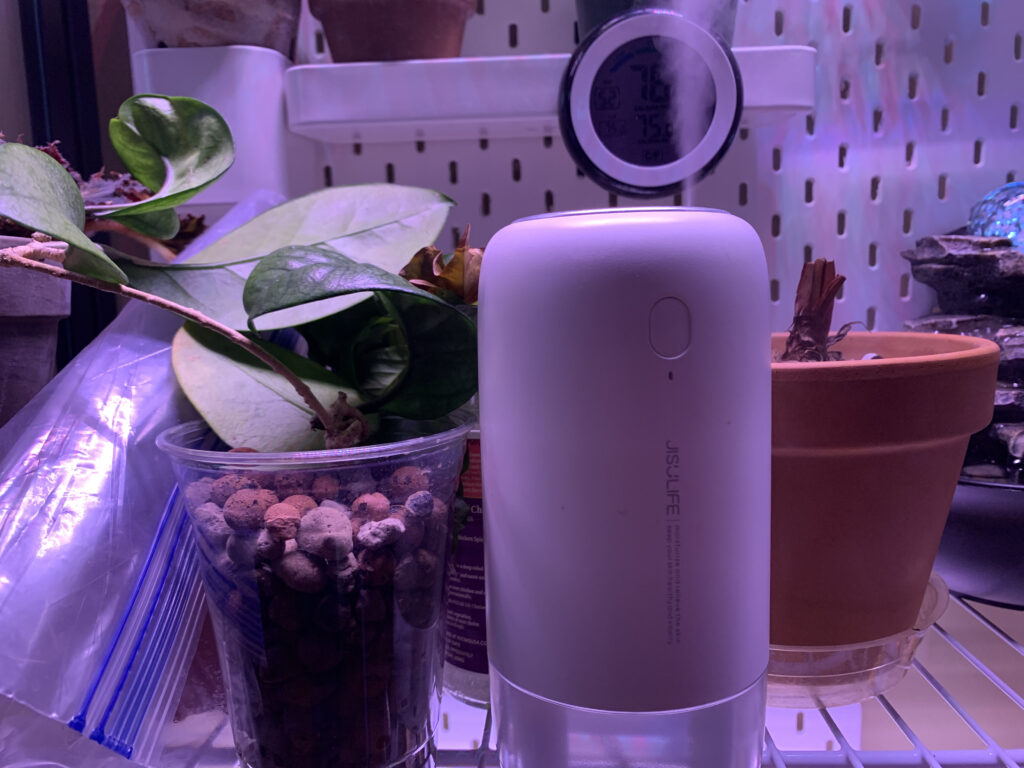
Humidity
The greenhouse tends to stay more humid than a regular room and I also have a couple small portable humidifiers that I can add if there needs to be more humidity. They are usb humidifiers that can be recharged so they do not need to be plugged in. I thought about putting a full-size plug in humidifier in the cabinet but there is just not enough room and I think the humidity would be too much. I also have a fountain in the cabinet to help keep up humidity, I only run it during the day and that reduces the water from evaporating from the fountain.

Cord Management
I am still working on cord management. I am planning to drill a hole in the bottom of the greenhouse to run the cords out to the surge protector with timer. This will be discussed in the next blog post since I need to order a box to enclose my surge protector and cords in. So please check back for the next blog post. I will also be creating a list with all the items that I used to put together this greenhouse cabinet once it is complete.
ThePlantUtopia.com is a participant in the Amazon Services LLC Associates Program, an affiliate advertising program designed to provide a means for sites to earn advertising fees by advertising and linking to Amazon.com.